
How Should a Watch Bracelet Fit? The Pinky Test & 3 Key Rules
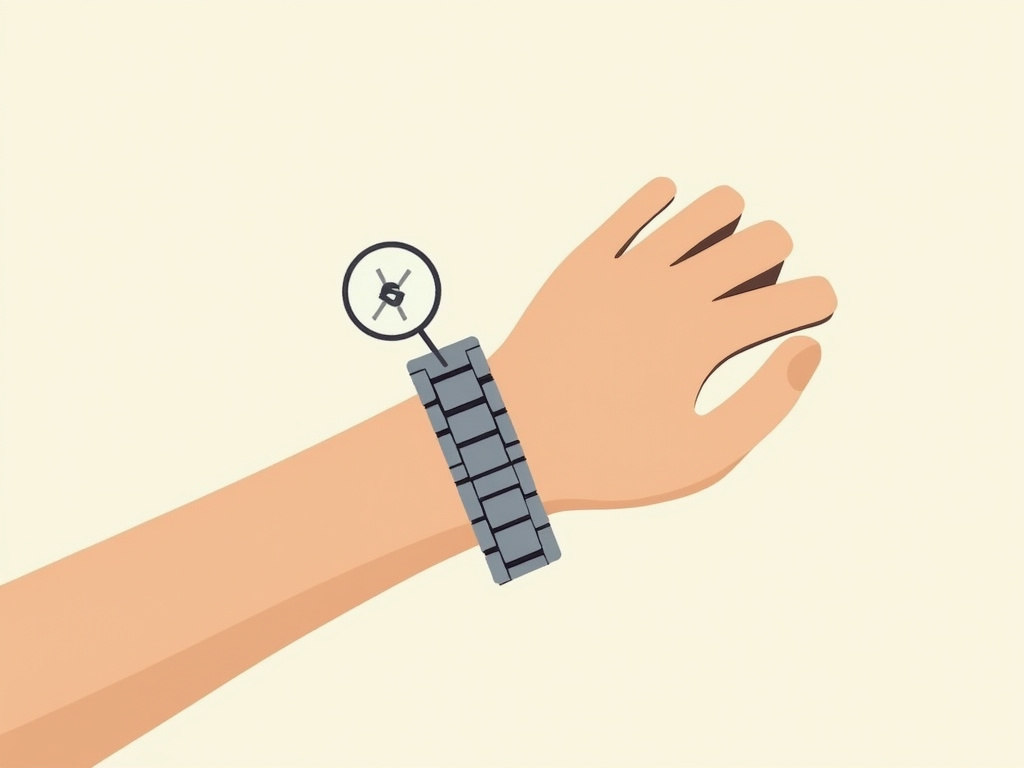
A watch bracelet should fit snugly enough to stay centered over your wrist bone without sliding, but loose enough that you can comfortably slide the tip of your pinky finger between the band and your skin. The clasp must sit centered on the underside of your wrist, and you should account for wrist swelling in heat or during exercise by using a clasp’s micro-adjustments.
Most people get this wrong by focusing only on circumference. They have the right number of links removed, but the clasp sits off-center on the underside of their wrist. The watch head then constantly pulls to one side, feeling unbalanced and looking sloppy. It’s the reason a perfectly sized bracelet still feels uncomfortable.
Getting the fit right involves three specific checks beyond simple tightness. This guide walks through the pinky test, the critical rule of clasp placement, and how to adjust for different materials and temperatures so your watch feels like a part of you, not a piece of hardware.
Key Takeaways
- Use the pinky test: if you can’t slide the tip of your pinky between the bracelet and your wrist, it’s too tight. If you can fit more, it’s too loose.
- Center the clasp on the underside of your wrist. An off-center clasp throws off the entire balance and is a common source of discomfort.
- For metal bracelets, set the micro-adjust clasp to its middle position during initial sizing. This gives you free room to tighten or loosen throughout the day as your wrist swells or contracts.
- Leather and rubber straps have different rules. Leather should be snug from the start (it stretches), while a rubber dive strap needs a slightly looser fit to accommodate a wetsuit.
- Always check for protruding pins or spring bars after adjusting a bracelet. A Seiko manual warns a protruding pin can cause injury or damage the spring bar itself.
The Three Rules of a Perfect Bracelet Fit
Forget vague advice about “snug but comfortable.” A proper fit is defined by three measurable, physical rules that work for any wrist shape.
First, the watch head must stay positioned over your wrist bone, not slide down toward your hand when your arm is at your side. Second, the bracelet should not rotate freely around your arm. If you can spin it like a bezel, it’s too loose. Third, the clasp must rest flat and centered on the underside of your wrist. An off-center clasp is the hidden culprit behind most “fitted” watches that still feel wrong.
A properly fitted metal bracelet allows for thermal expansion of the wrist. The Chinese national standard GB/T 4048-2008 specifies the dimensions for spring bars that secure bracelets to cases, emphasizing the need for a secure yet adjustable connection that can handle minor movement.
TL;DR: The watch stays put over your wrist bone, doesn’t spin, and has a centered clasp. These three points define the geometry of a good fit.
The Pinky Test and Why It Works
The classic one-finger rule is imprecise. The pinky test is better. Fasten the bracelet and try to slide just the tip of your pinky finger between the band and your wrist. It should slide in with a gentle, snug pressure. If you can’t get the tip in, the bracelet is too tight. If you can easily fit the whole width of your pinky or even a second finger, it’s too loose.
This works because the pinky is roughly the right thickness to account for natural wrist expansion. Your wrist circumference changes throughout the day with temperature, hydration, and activity. A fit that feels perfect at 8 a.m. can feel like a tourniquet by noon on a hot day. The pinky’s width builds in that necessary buffer.
Common mistake: Sizing a bracelet to be perfectly snug on a cool morning — by afternoon, the swelling makes it dig in, leaving red marks and restricting circulation.
I learned this the hard way with my first nice Oris. I had it sized in an air-conditioned shop on a winter day. The next summer, during a long walk, the clasp left a deep, angry imprint. Now, I always do the final fit check after I’ve been moving around for at least fifteen minutes.
Why Clasp Placement Is Everything
This is the detail most guides and jewelers miss. The placement of the clasp on the underside of your wrist dictates the watch head’s position. If the clasp is too far to the left or right of center, the watch head will be pulled off-center, resting against the wrist bone awkwardly. It feels unbalanced and looks crooked.
To check, put the watch on and fasten it. Look at the underside of your wrist. The clasp should be centered between the two tendons that run along the bottom. If it’s not, you need to adjust the link distribution. This often means moving a link from one side of the clasp to the other, not just removing total links.
| Clasp Position | Effect on Watch Head | How to Fix |
|---|---|---|
| Centered | Watch sits balanced over wrist bone | Ideal – no change needed. |
| Shifted Left | Watch head pulls right, presses into bone | Move a link from the left bracelet tail to the right side. |
| Shifted Right | Watch head pulls left, feels unstable | Move a link from the right bracelet tail to the left side. |
A centered clasp is non-negotiable for comfort. It’s the difference between a watch you forget you’re wearing and one you’re constantly adjusting.
Material Matters: One Size Does Not Fit All
A stainless steel Oris bracelet, a silicone Apple Watch Solo Loop, and a leather strap all obey different physical rules. Treating them the same leads to a bad fit and damaged gear.
Metal Bracelets (e.g., Oris 316L Steel): These are rigid. Your fit must account for swelling. Use the micro-adjustment holes on the clasp. The best practice is to size the bracelet so the clasp uses the middle micro-adjustment position when you first fit it. This gives you two to three clicks of looseness or tightness to play with later without needing tools. Regular cleaning is also part of fit; grime buildup inside links makes a bracelet feel tighter and can irritate skin. Our guide on cleaning stainless steel bracelets covers the safe way to do this.
Rubber/Silicone Straps (e.g., Apple Solo Loop): These are flexible and can stretch over time. Apple notes the Solo Loop may increase in length. For swimming or sports, a rubber strap should be slightly tighter than a metal bracelet to compensate for water resistance and the strap’s flexibility. However, if you’re wearing it over a wetsuit, you’ll need it significantly looser. For a standard fashion watch bracelets made of similar materials, a snug fit prevents excess movement.
Leather Straps: Leather forms to your wrist and stretches permanently. A new leather strap should feel firmly snug—perhaps even a hair tighter than the pinky test allows. It will relax to a perfect fit within a week of wear. A leather strap sized too loosely will never conform properly and will develop unsightly creases. Remember, leather and stainless steel bands are not for water. As Apple states, they’re not recommended for use in water or during workouts.
Specialty Metals & Plating: Materials like silver or gold-plated bracelets require a careful fit to minimize wear on the plating at friction points. A too-tight fit will accelerate tarnish and plating loss at the clasp.
How to Adjust Your Bracelet (And Not Break It)
You have two main adjustment points: removing links and using the clasp’s micro-adjustments. Always try the micro-adjustment first. It’s reversible and requires no tools on many modern clasps like Oris’s patented continuously adjustable folding clasp.
When to Remove Links
Only remove links if, on the tightest micro-adjustment setting, the bracelet is still too loose. The goal is to get the bracelet to a length where the micro-adjustment is in the middle of its range. This is your sweet spot for daily adaptability.
Safety First: Before you push any pins, read this.
Before you start: Work on a soft, well-lit surface. Use the correct size spring bar tool to avoid marring the metal. After pushing a pin out, inspect both ends to ensure they are fully retracted and not protruding. A protruding pin can tear skin and damage the spring bar channel.
The process varies by system. Some use split pins, others use screw-in pins. The Seiko New Link Removal System uses a specific tool to depress a spring bar inside the link. Their manual warns: if the spring bar is not inserted correctly into the inner hole, the pin might protrude, causing injury.
- Identify the link type. Look for arrows on the inside of the bracelet indicating the direction to push the pin. No arrows? It’s likely a screw system.
- Secure the bracelet. Use a bracelet holder or a folded cloth in a vise to hold it steady. Slippage scratches metal.
- Drive the pin out. For push pins, use a pin pusher or a precision hammer and punch. Tap gently. If it doesn’t move, don’t force it—you might be pushing the wrong direction. For screws, use a properly fitted screwdriver. Tape the blade to prevent slippage.
- Check both ends. After the link is removed, ensure the pin is fully seated in the adjoining link. Run your finger over the area. Any snag means the pin is protruding.
- Reassemble and verify. Close the clasp and check the fit. Always do a final safety check for protruding pins before wearing.
Skipping the safety check risks exactly what the manuals warn about. A protruding pin isn’t just uncomfortable; it’s a snag hazard that can bend the spring bar and ruin the link.
Mastering the Micro-Adjust Clasp
This is your daily tool for perfect fit. Most clasps have 2-4 adjustment holes. A few, like the Oris patented clasp, offer near-infinite adjustment.
| Clasp Type | Adjustment Range | Best For | Tool Needed |
|---|---|---|---|
| Standard Pin & Hole | 2-4 positions (~5mm total) | Daily wear in stable climates | Spring bar tool or pin |
| Oris Continuous | Infinite within range (~15mm) | Active wear, travel across climates | Fingertip pressure |
| Diver’s Extension | Large, sudden increase | Wearing over a wetsuit | Unlatch extension |
To adjust, simply use a pin or tool to depress the small spring bar that locks the clasp tongue into position. Move the tongue to a new hole and release. The bar should click into place. If it doesn’t click, it’s not secure. The goal is to have the tongue in the middle hole for your standard fit, giving you room to move in either direction.
Troubleshooting a Bad Fit
Sometimes the fit feels off even after adjustment. Here are the likely culprits.
The watch slides down onto my hand when my arm is at my side.
This means the bracelet is too loose overall, or the clasp is too far toward the watch head (the 12 o’clock side). Try tightening the micro-adjustment one click. If that doesn’t work, you may need to remove a half-link (if available) or adjust link distribution to shift the clasp slightly toward the 6 o’clock side of the bracelet.
The watch rotates around my wrist easily.
The bracelet is too loose. Use the micro-adjustment to tighten it. If you’re already on the tightest setting, you need to remove a link.
The clasp digs into the top of my wrist when I bend my hand back.
The bracelet is too tight, or the clasp is too long for your wrist. Loosen the micro-adjustment. If the problem persists with a fold-over clasp, you might need a shorter clasp style—a job for a watchmaker.
One side of the bracelet sticks out away from my wrist.
This is almost always a sign of a protruding pin or a bent link. Remove the watch and inspect the link joints. Feel for any metal lips that aren’t flush. A bent link needs professional repair. For long-term care of any metal bracelet, consistent jewelry tarnish prevention keeps the metal healthy and the fit consistent.
The fit is perfect in the morning but tight in the afternoon.
This is normal wrist swelling. This is why you set the micro-adjust to the middle position. When you feel it tighten, use your tool (or your fingernail on some clasps) to move the adjustment one click looser. Reverse the process in the evening. A good homemade bracelet cleaner can also help remove salt and sweat that contribute to that tight, sticky feeling.
Frequently Asked Questions
How many fingers should fit under a watch band?
Just the tip of one—your pinky. The old “one finger” rule is too vague. If you can fit the full width of your index finger, the bracelet is too loose. The pinky test provides the right amount of slack for daily wrist expansion.
Can a watch bracelet be too tight?
Yes, and the consequences are real. A too-tight bracelet restricts circulation, can cause nerve irritation, and leaves deep red marks on your skin. It also accelerates wear on the bracelet’s interior and your skin. Metal needs to move slightly; clamping it down causes friction and heat.
Should a watch move on your wrist?
It should have minimal, controlled movement. When you shake your arm loosely, the watch head might shift a few millimeters. It should not slide down to your hand or rotate freely around your arm. A completely immobile watch is likely too tight.
How do I know if my watch bracelet is the right length?
The right length allows the clasp to sit centered on the underside of your wrist while the watch head sits centered over the top of your wrist bone. When you add or remove links, you’re balancing this equation. The micro-adjustments then fine-tune the snugness.
Do I need a professional to adjust my watch bracelet?
For simple link removal on a standard metal bracelet with push pins, a careful DIYer can do it with the right tools. However, for screw-in pins, complex link systems (like Seiko’s), bracelets with gemstones, or luxury watches, a professional is worth the small fee. They have the proper jigs and can perform a safety check. For rubber straps that need cutting (like some Oris models), the manufacturer states adjustment must be done by an approved retailer.
The Bottom Line
A well-fitted watch bracelet disappears on your wrist. It doesn’t pinch, slide, or distract. Achieve this by passing the pinky test, ensuring the clasp is dead-center underneath, and using the micro-adjustments as your daily dial for swelling and activity. Remember that material dictates strategy: leather starts snug, rubber accommodates activity, and metal relies on its adjustable clasp. Finally, never wear a watch with a protruding pin—it’s a safety hazard that ruins the fit and the hardware. When you’re not wearing it, proper storing watch bracelets on a soft roll or in a dedicated case maintains its shape and readiness for the next perfect fit.